Everyone loves summer! Warmer water, longer days, BBQ's, etc. But lets not forget about a minor annoyance of summer; all the pesky bugs. Everyone needs a good, sturdy fly swatter to keep all those scavengers in check. This how-to provides a series of steps to take your cheap plastic fly swatter and convert it into something a little more stylish, and deadly. Also, with this swatter design, you can keep score all summer as you tally up points for each kill.

Supplies:
- Leather (2-3 oz. veg tan)
- Hole punch
- Needle (2) and thread
- Glue
- Edge beveler
- Scissors
- Fly swatter
Step 1: Remove plastic swatter pad from aluminum handle.
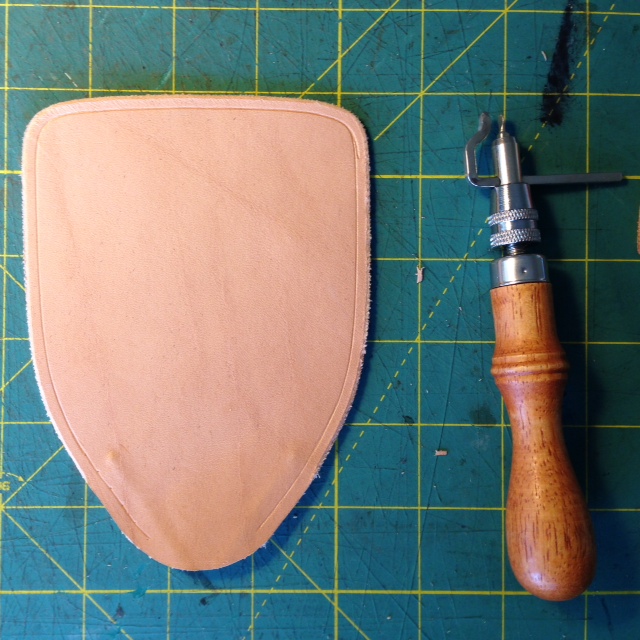
Step 2: Trace plastic swatter pad onto two leather pieces (front and back).
Step 3: Cut both pieces with scissors.
Step 4: Glue the two pieces together and use plenty of glue. Leave the bottom portion unglued to allow room to reinsert the handle.
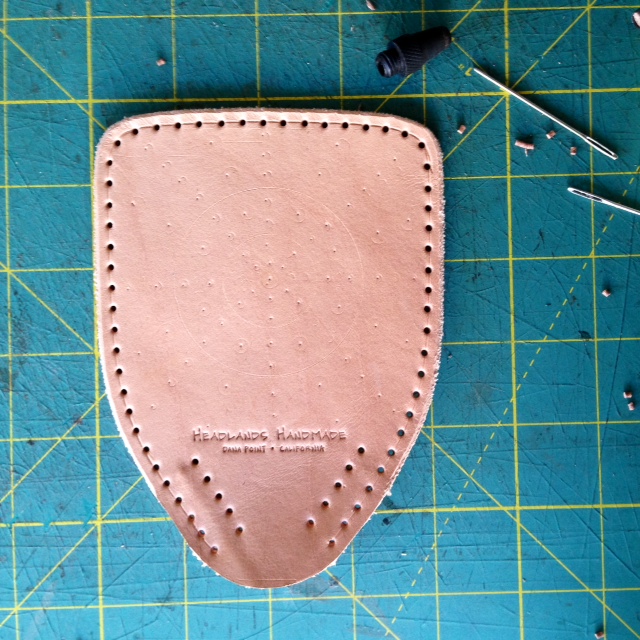
Step 5: Mark and punch your stitch holes into the leather. Be sure to note where the aluminum handle will fit back into the leather swatter pad.
Step 6: Saddle stitch the handle to the swatter pad and around the perimeter of the pad.
Step 7: Bevel and burnish the edges.
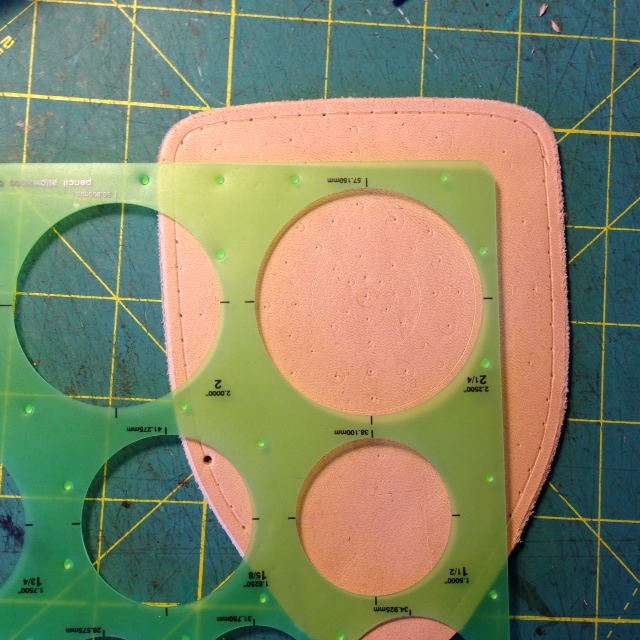
Step 8: Create a pattern of holes and punch them out. This reduces drag and increases swag.
Step 9: Now, wait patiently and strike fast. Enjoy your summer.